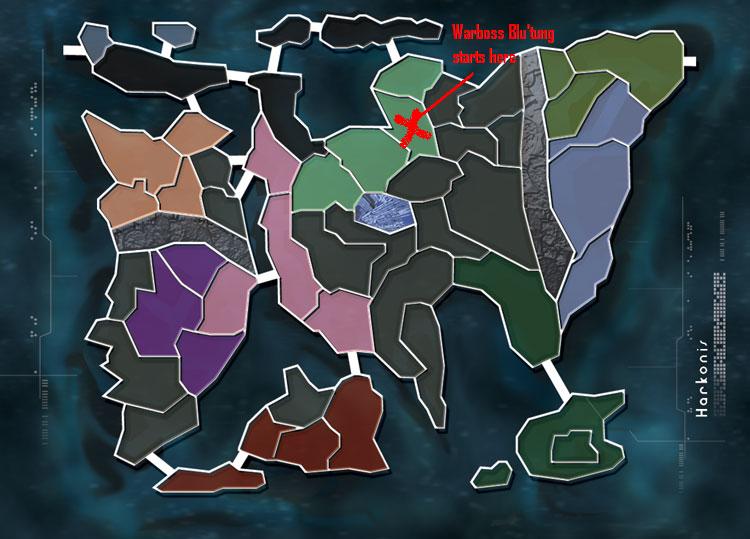
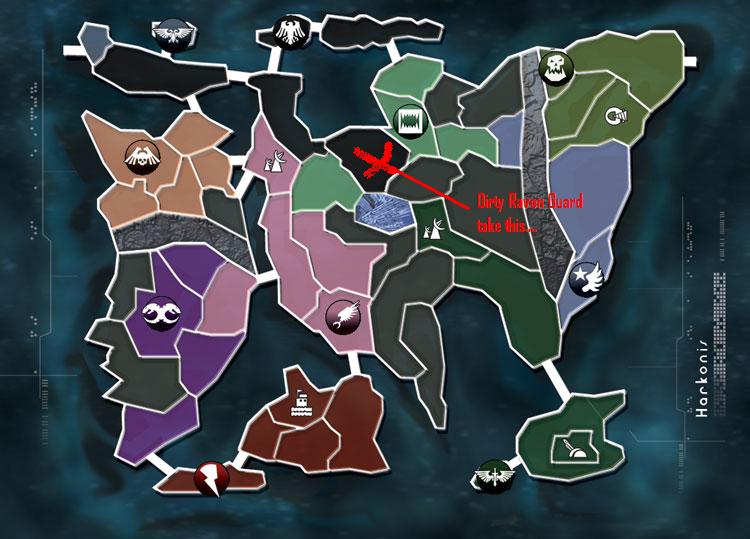
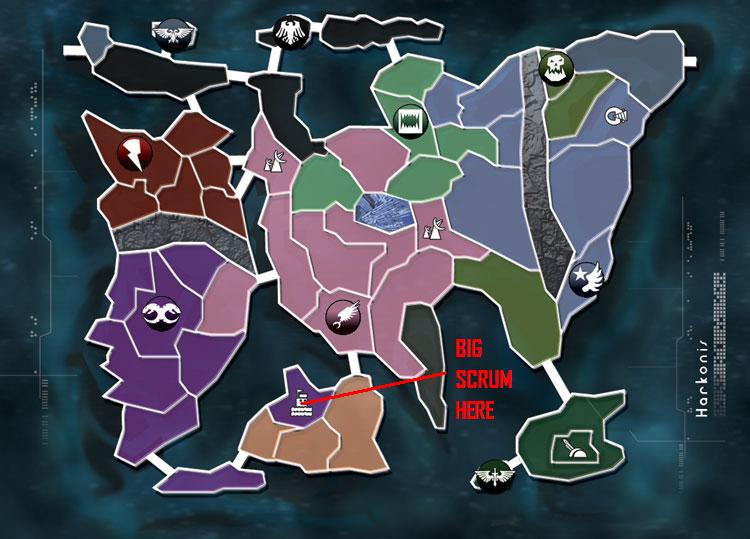
2009

Turns 4 and 5 - on vacation.
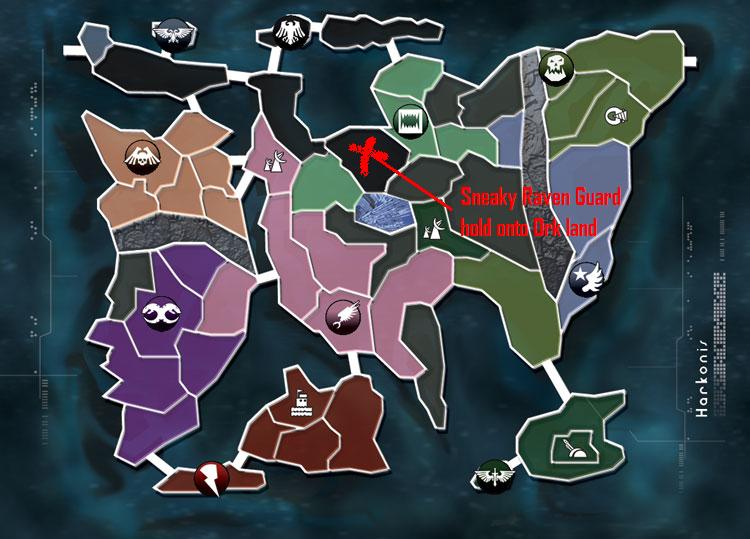
Turn 6 - grabbed a zone, nobody wanted to fight me!
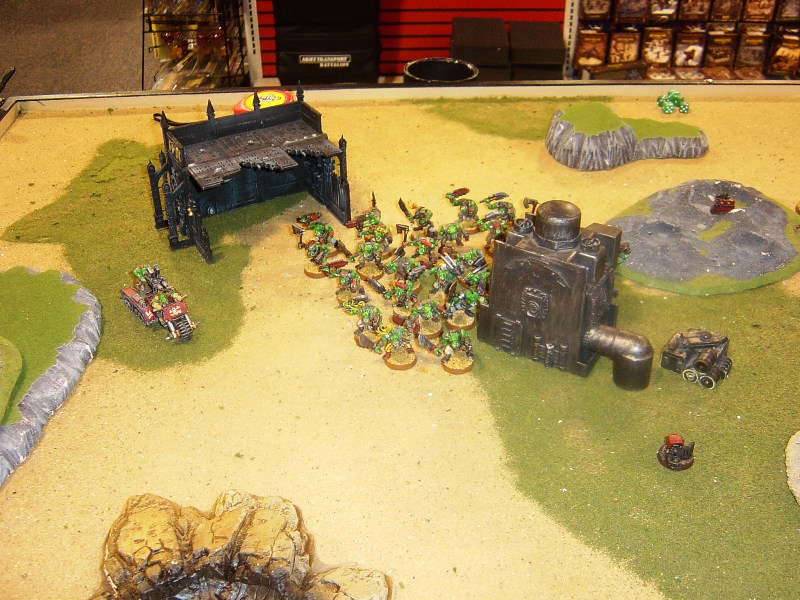
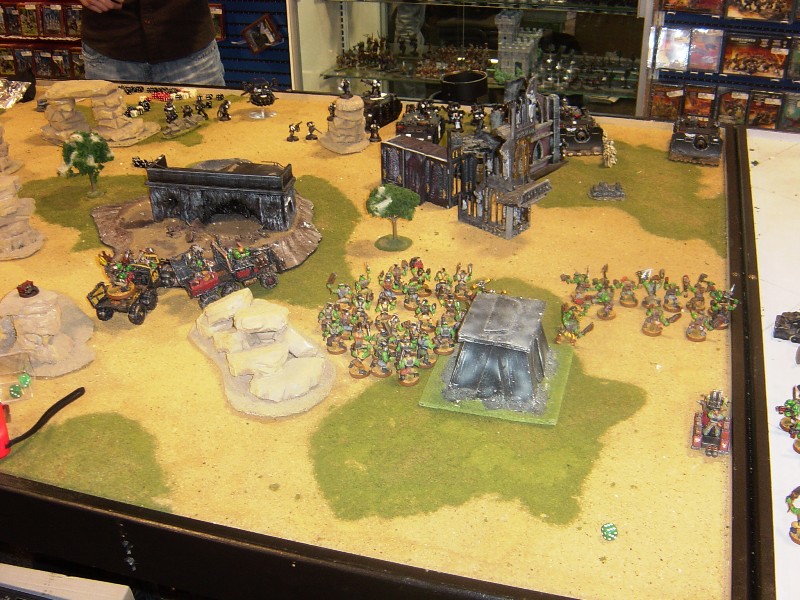
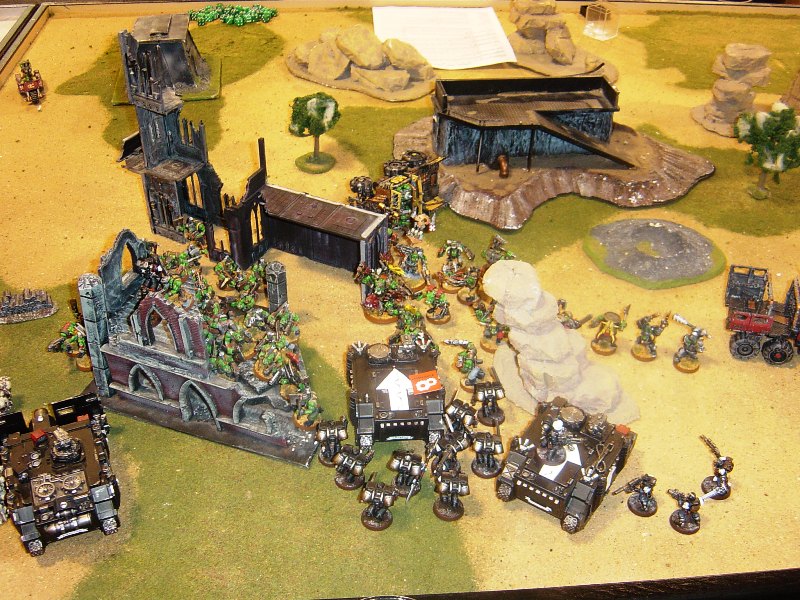
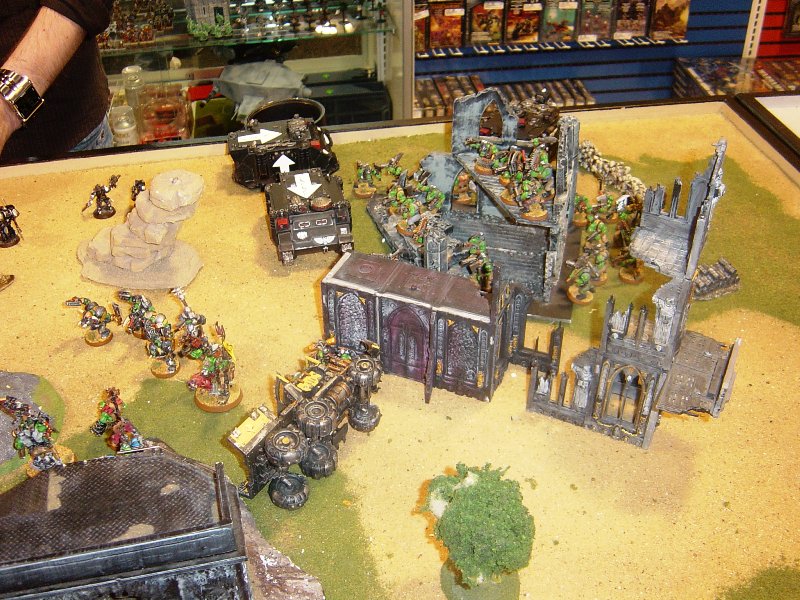
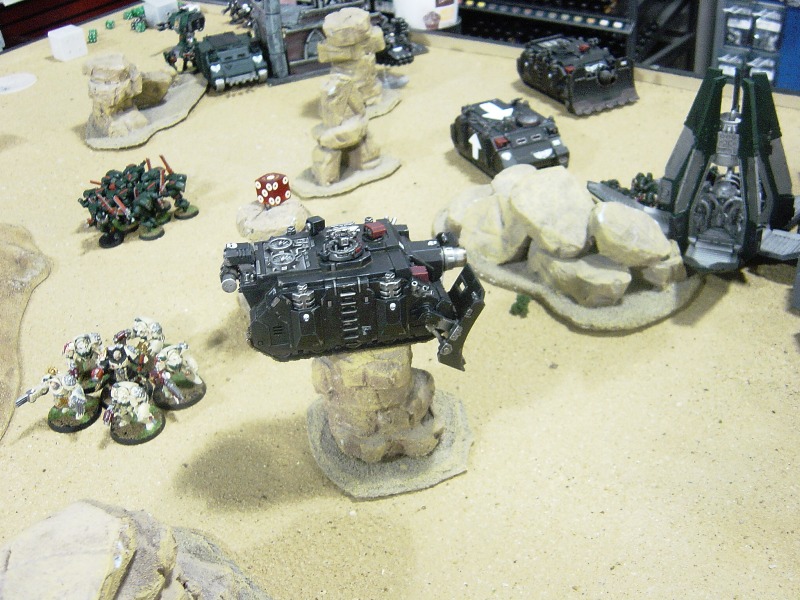
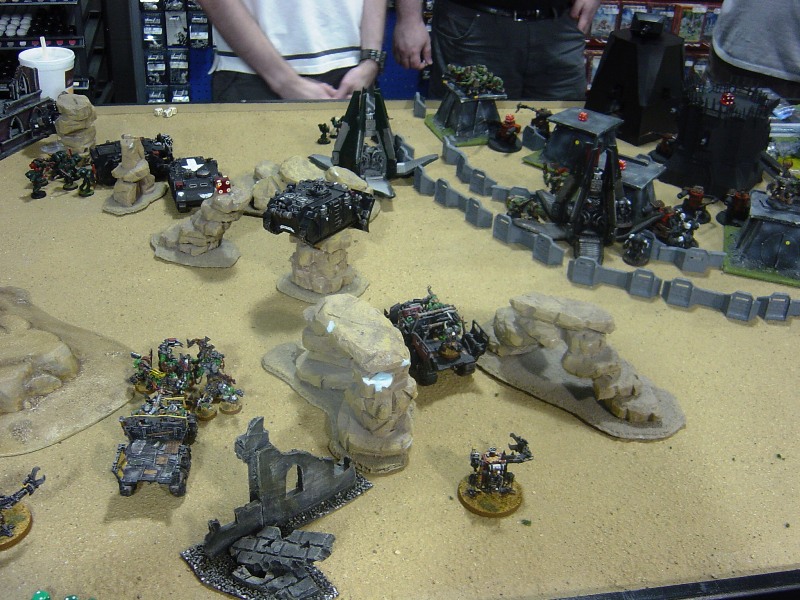
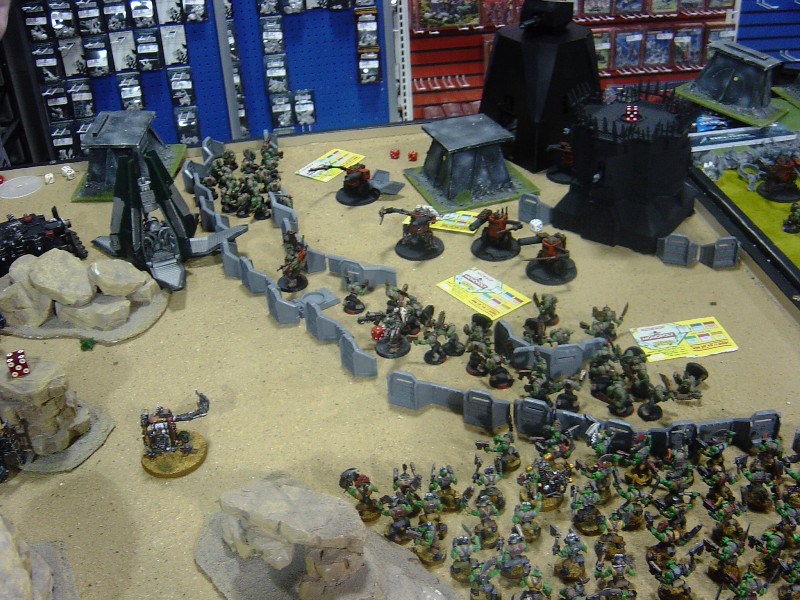
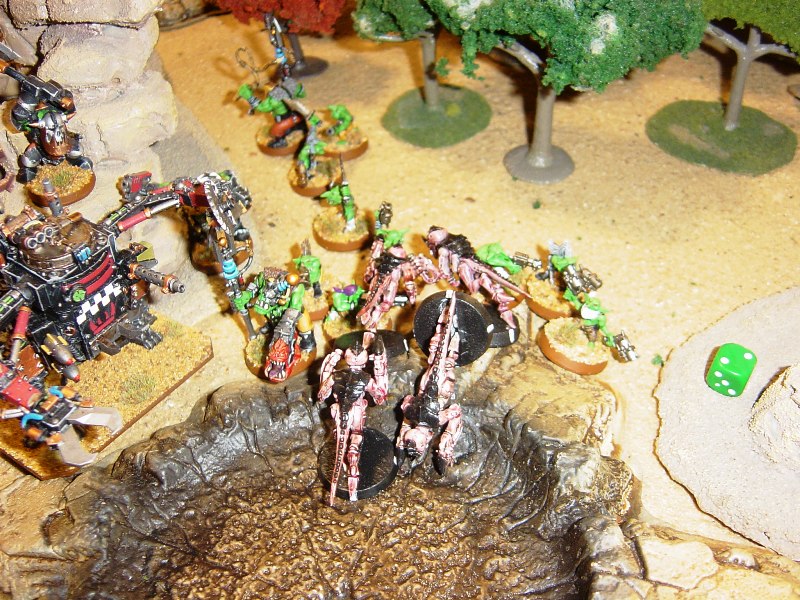
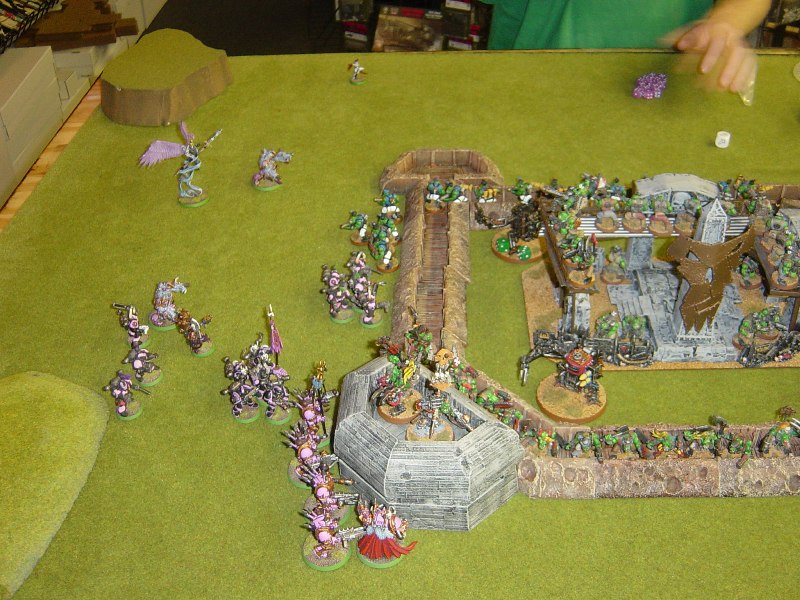
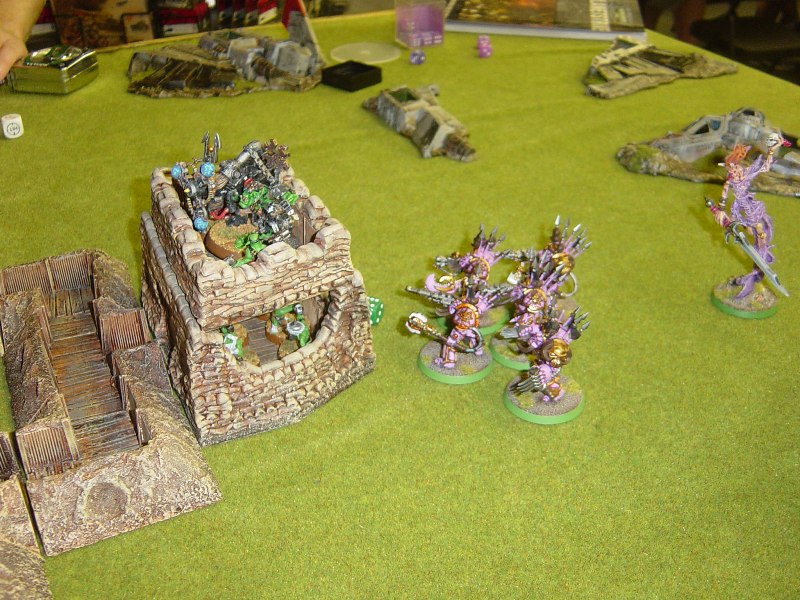
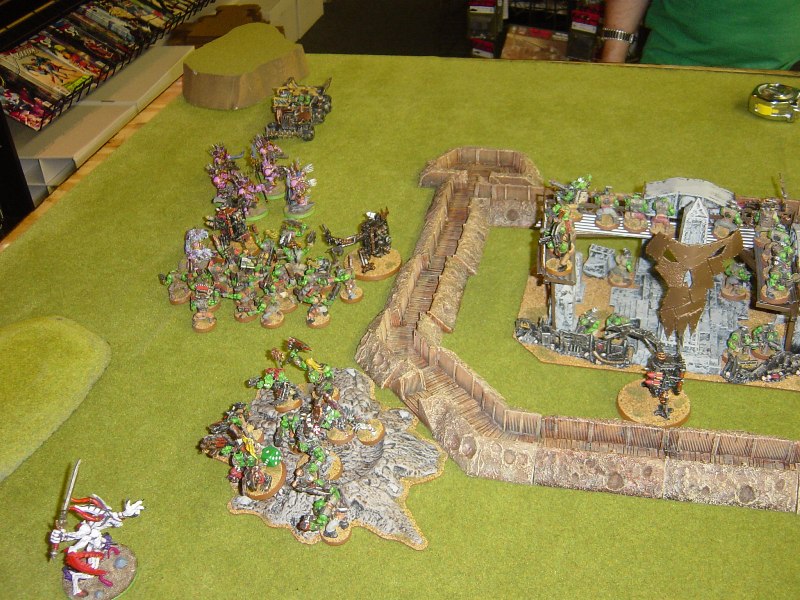
Game One, vs. John Archer's Raven Guard
The Nobz and Boyz see Raven Guard in the distance
The advance begins.
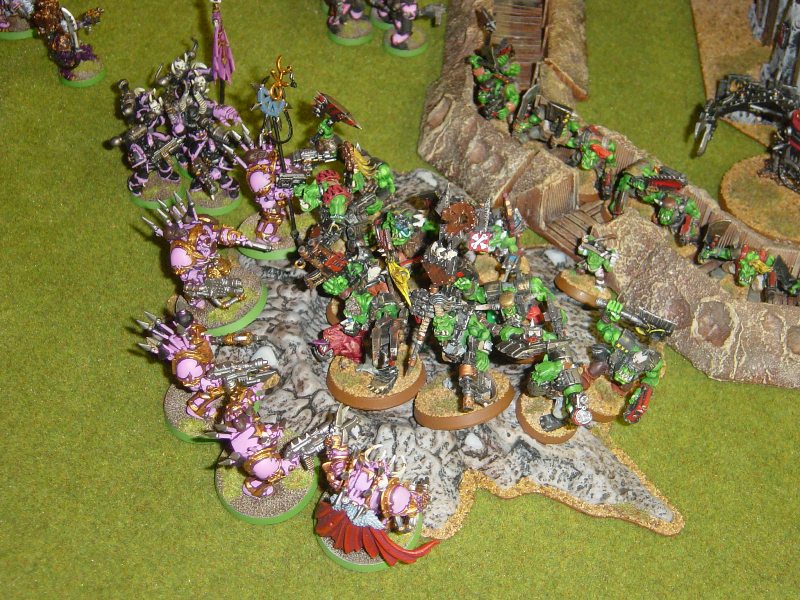
As the Boyz work their way through the ruins, the wartrakk starts making noise
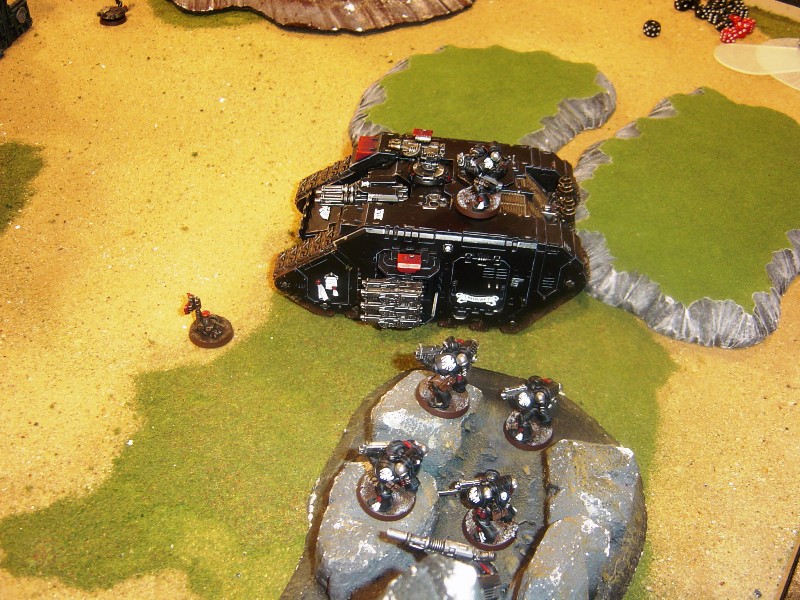
The Raven Guard think a shiny Landraider Crusader will save them.
Crunchy marines stand ready.
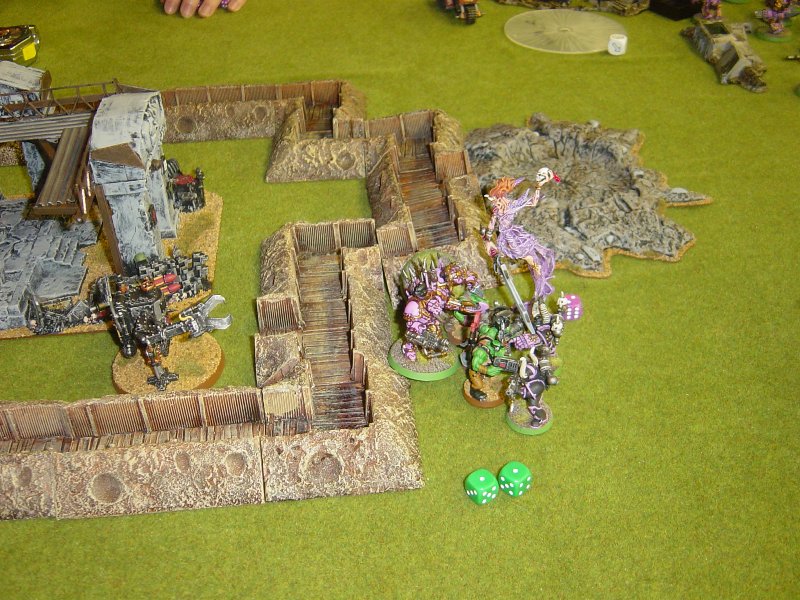
What must they be thinking, with the green tide rolling towards them?
After chasing the Umie 'ardboyz around the table, the boyz figure Boss Blu'tung needs to be here instead.
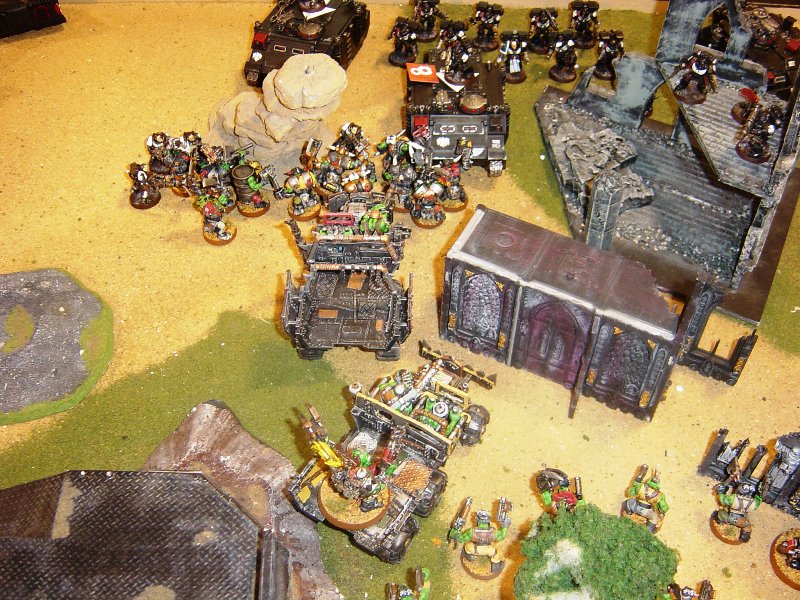
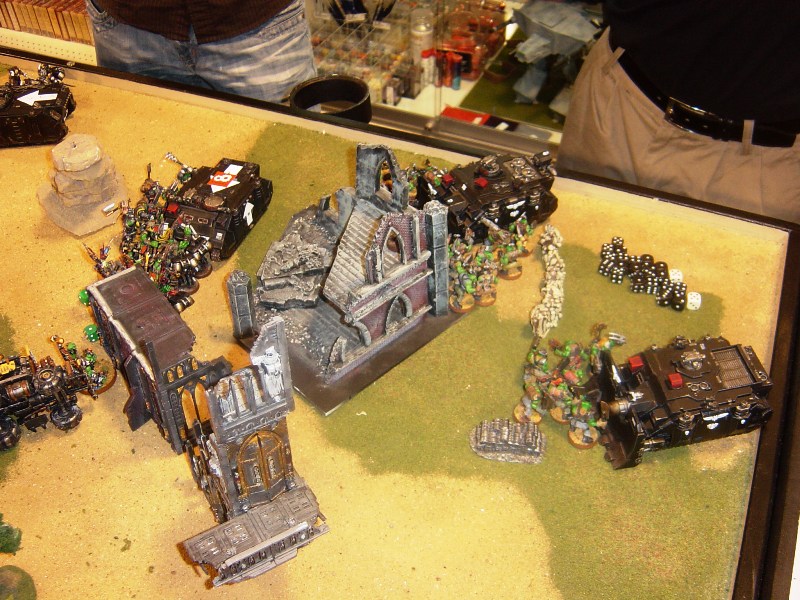
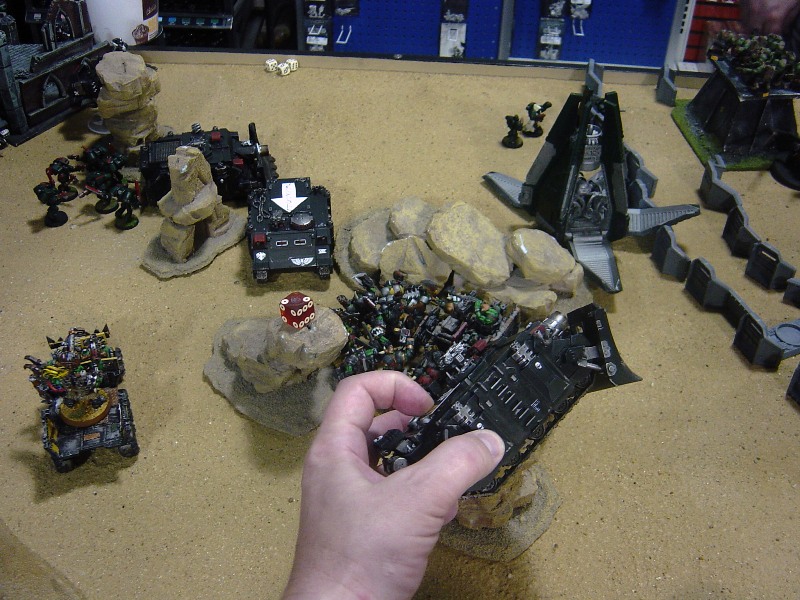
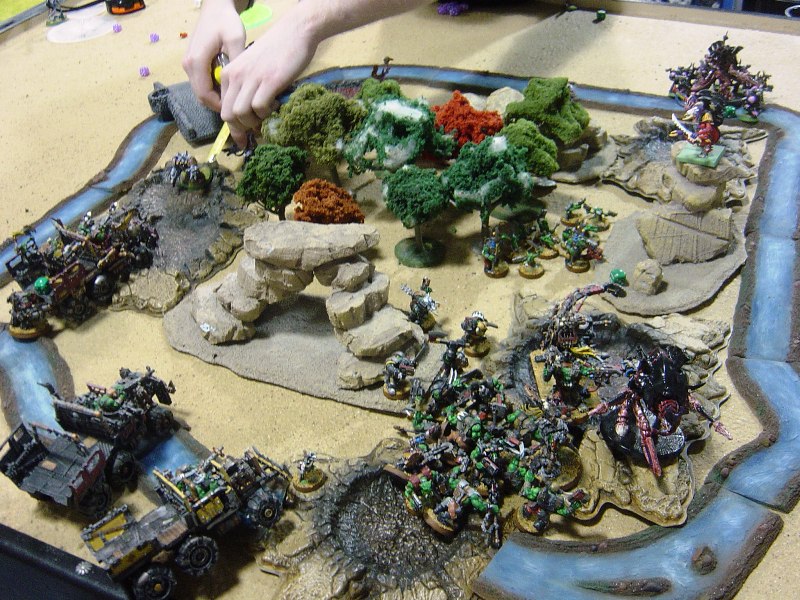
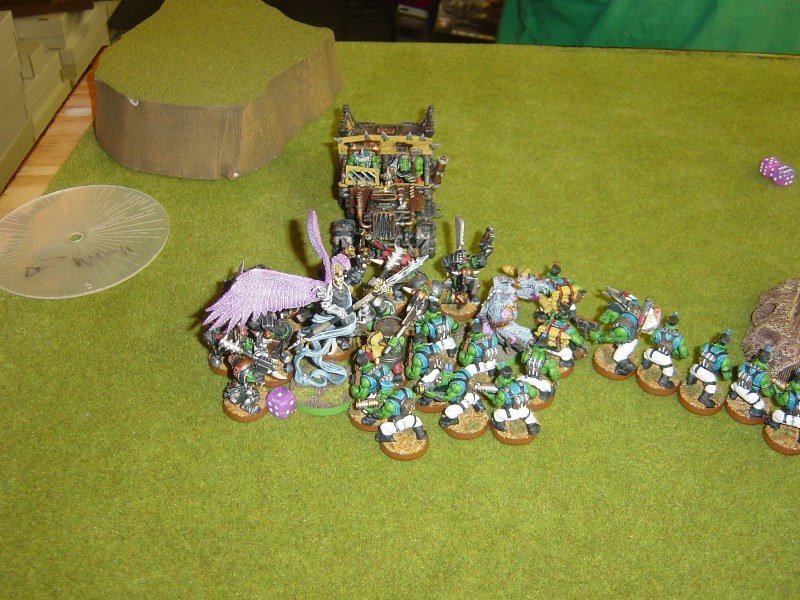
Game Two, Rematch vs. John's Raven Guard
The 'Ardboyz show off, their red paint job getting them ahead of the Warboss.
The 'Ardboyz do their job, getting stuck in first and drawing attention
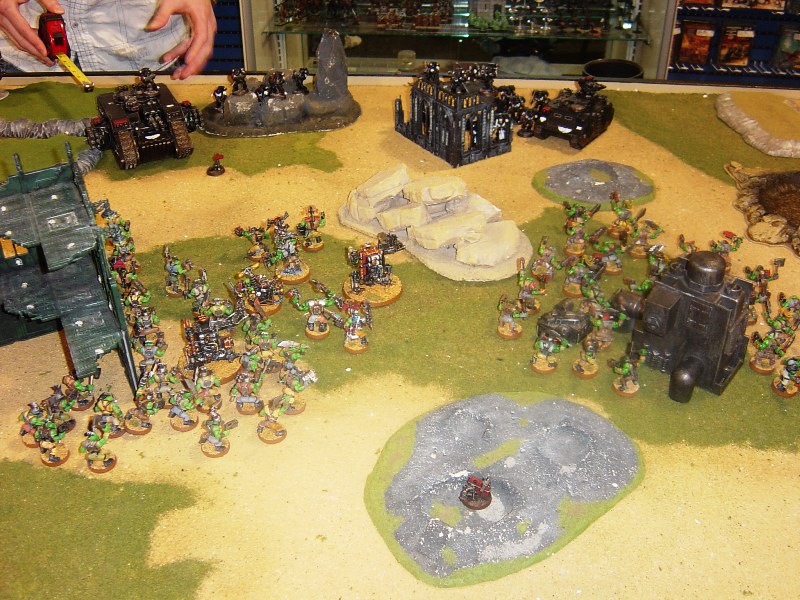
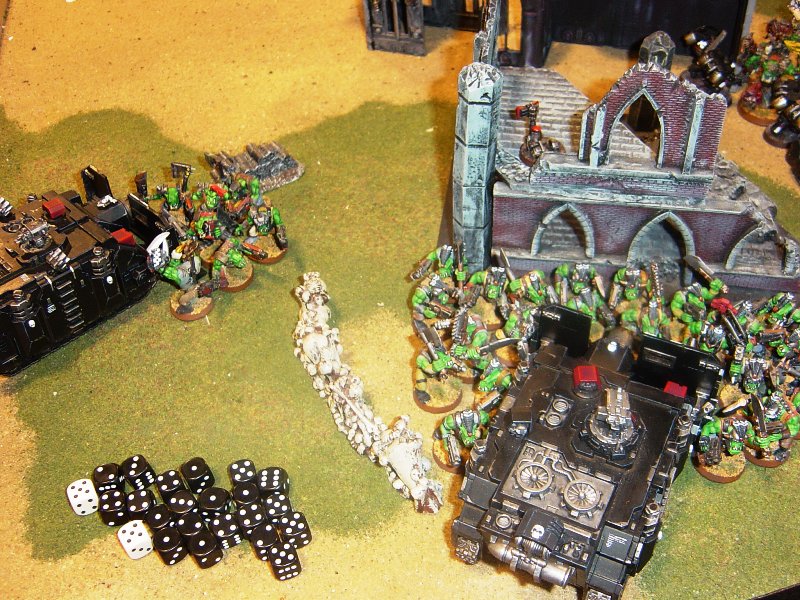
WAAAGH! time...everyone forward!
Another look at the carnage.
It is now time for the Vindicators to die.
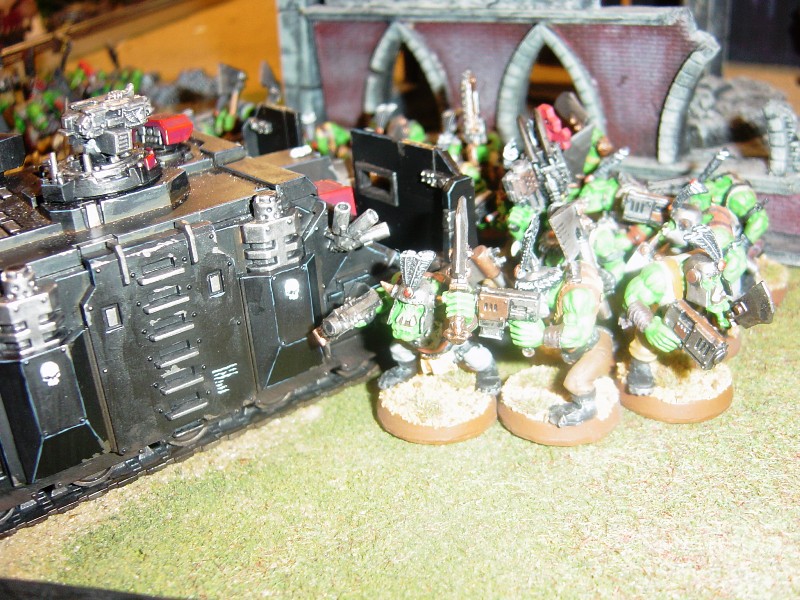
The boyz chop their way inside and rip the nasty Raven Guard tanks to shreads....
Bright light from a nearby exploding Vindicator blinds da Boyz, but only for a moment.
Da Boyz hold the objective! Unfortunately, there were two...
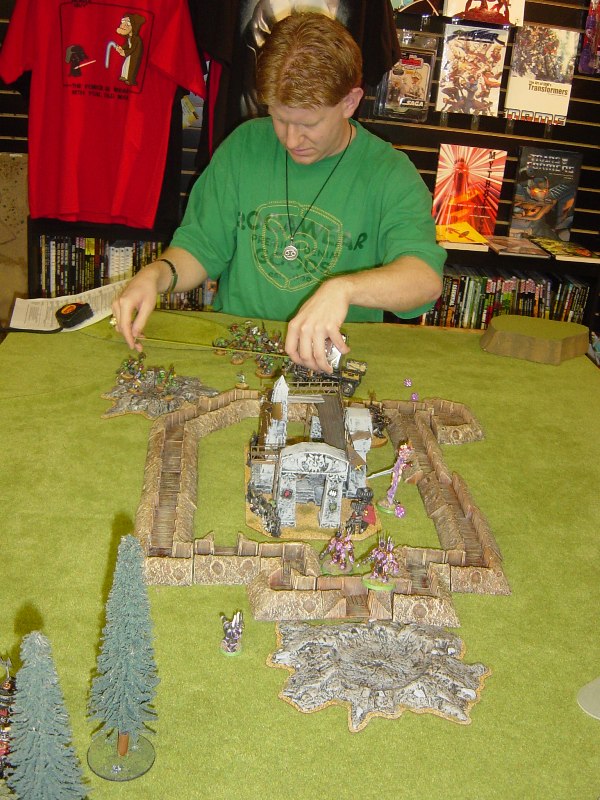
Warboss Blu'tung updates the campaign map...
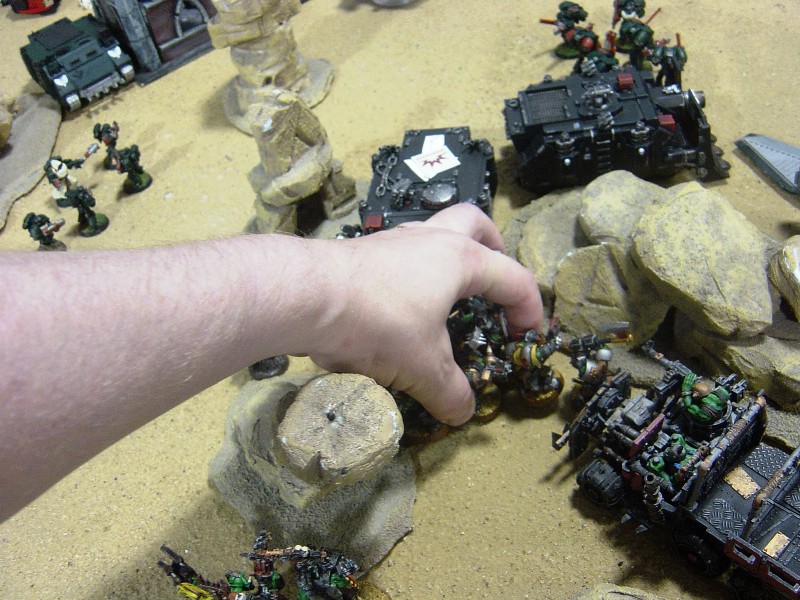
Game Three, with nothing better to do,
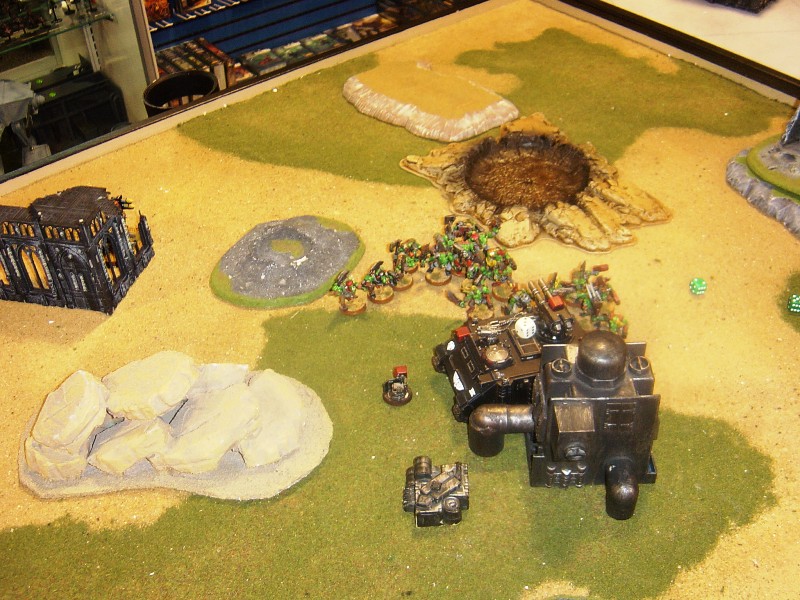
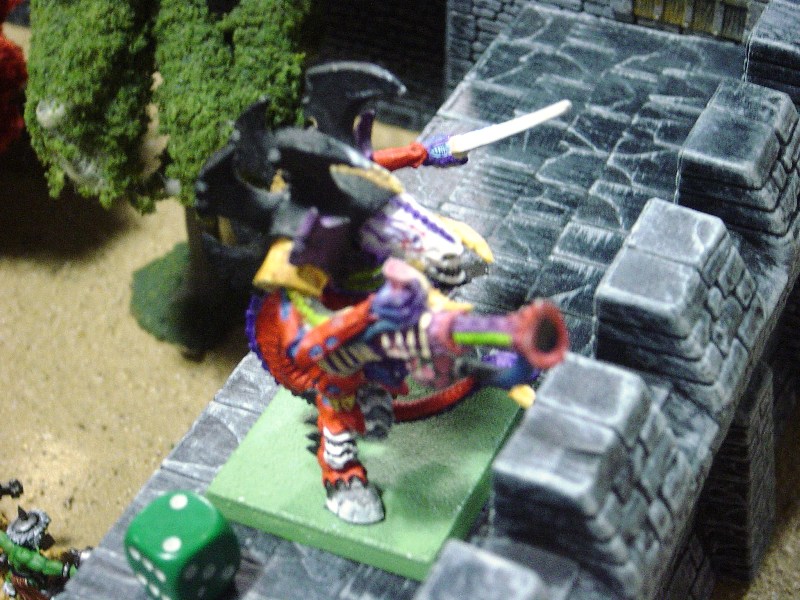
Raven Guard Vindicator lands on a rock pillar.
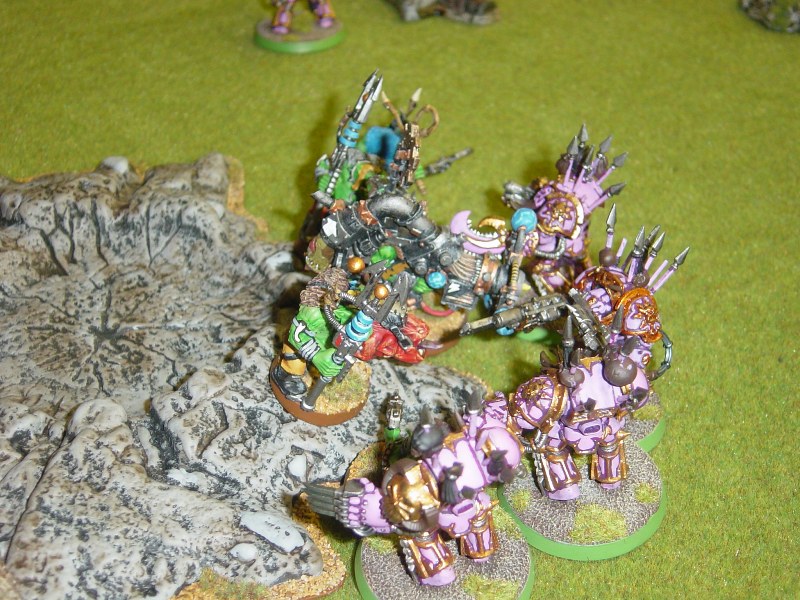
Blu'tung rides into the fight, straight into some Deathwing.
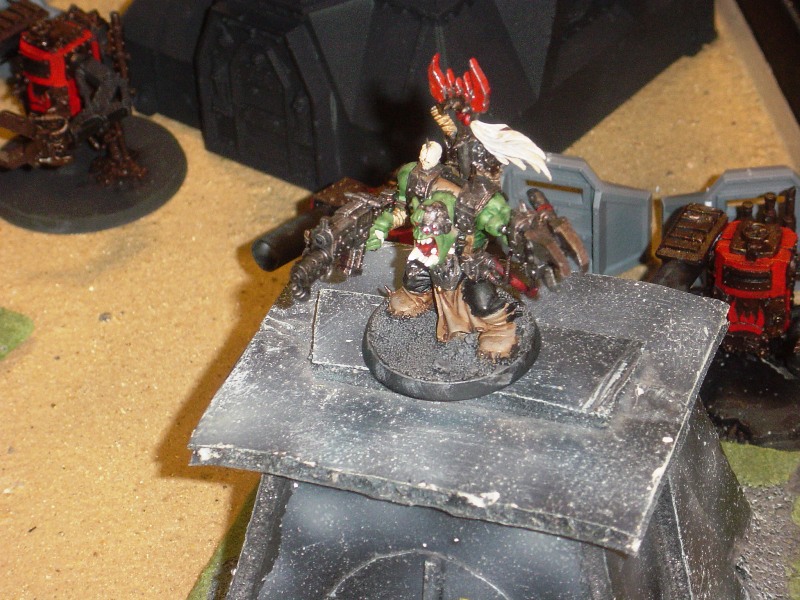
Warboss Blu'tung and the Nobz show how it's done.
And then get back into the Yella Speedsta.
Scared Dark Angels' assault boyz run away.
The kan-grots have some fun blastin' the tank.
The rest of the boyz arrive, but da Warboss heads for more action.
.oops...it's full of Sternguard! Oh well, sucks to be a 'Ard boy....
The trukk crashes into the wreck while the Warboss takes care of the Sternguard.
We win.
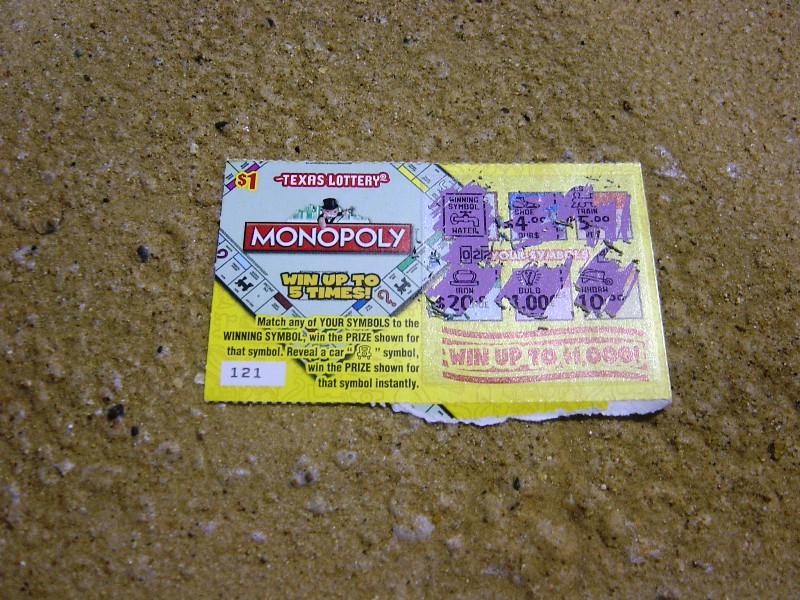
Lottery tickets were added as prizes.
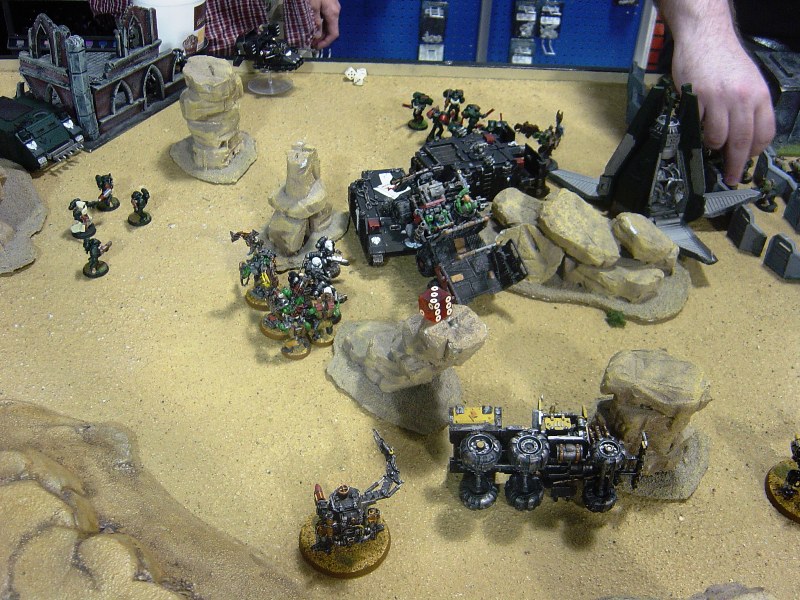
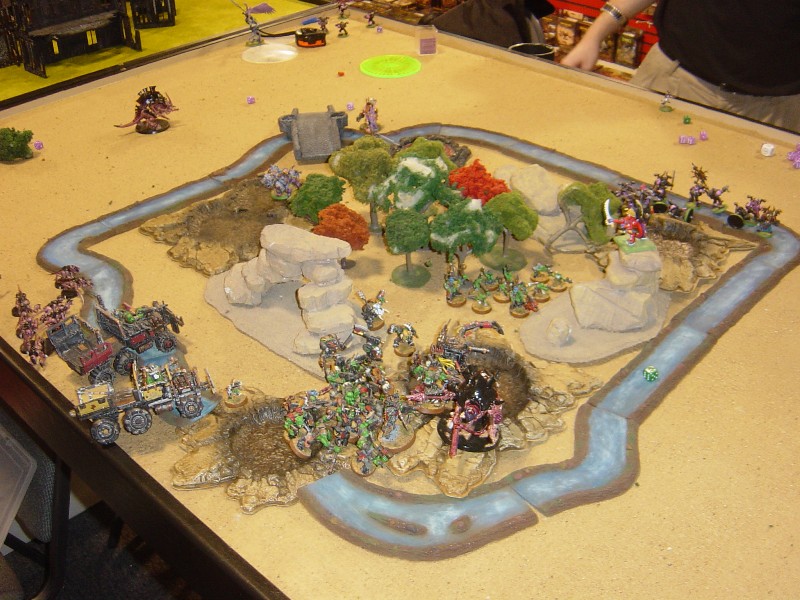
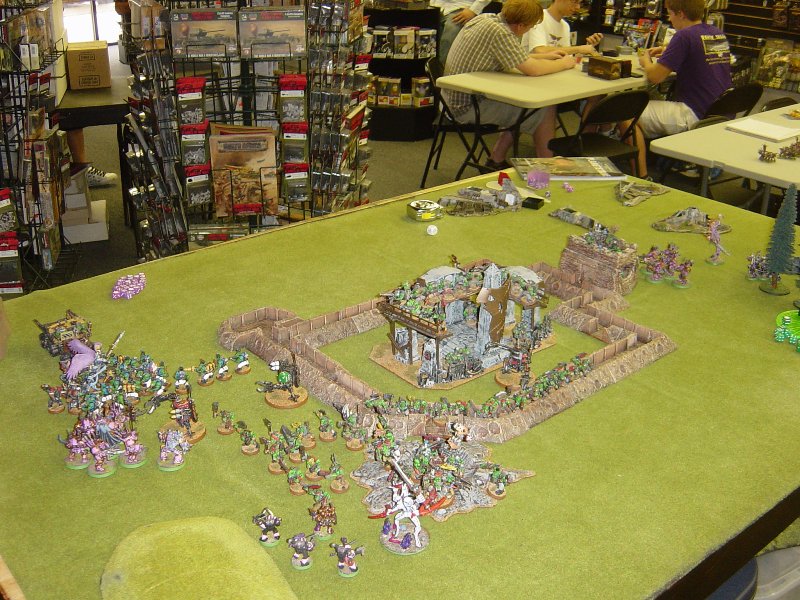
Game Four, Planetstriking is fun,
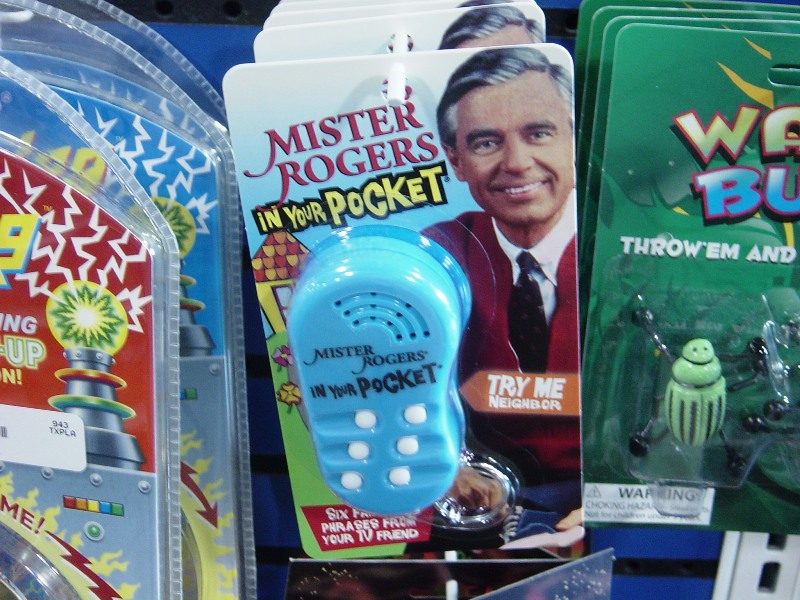
HobbyTown USA now sells Mister Rogers in your pocket...
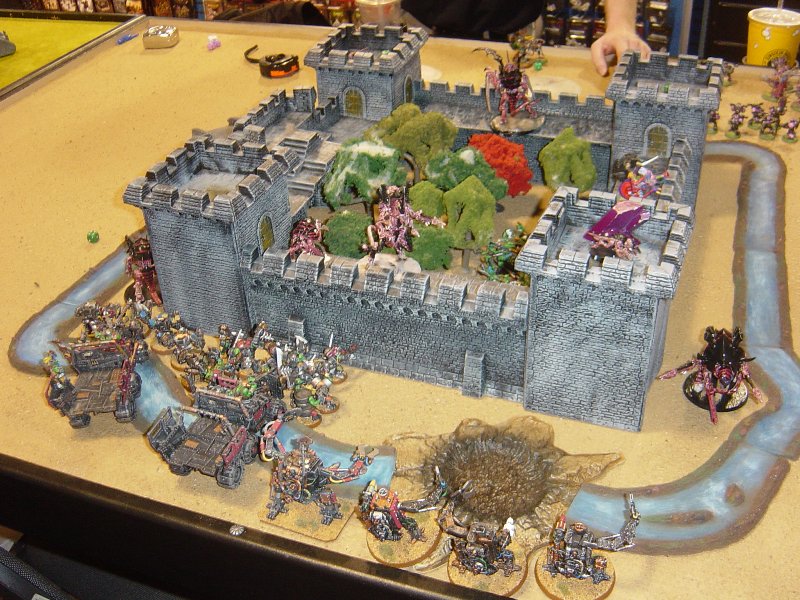
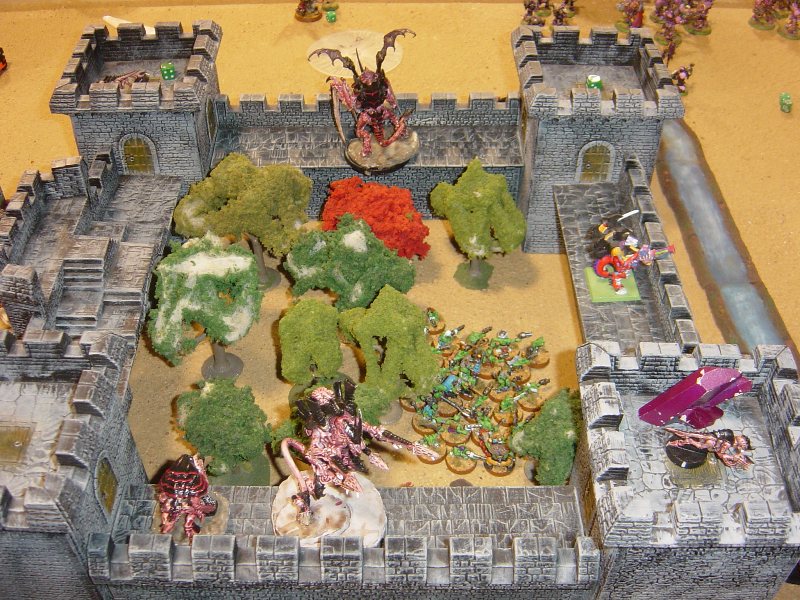
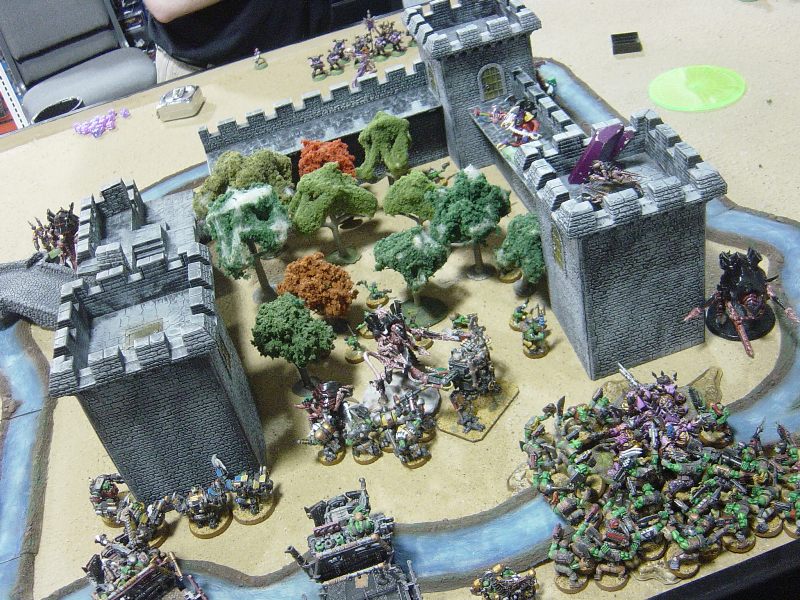
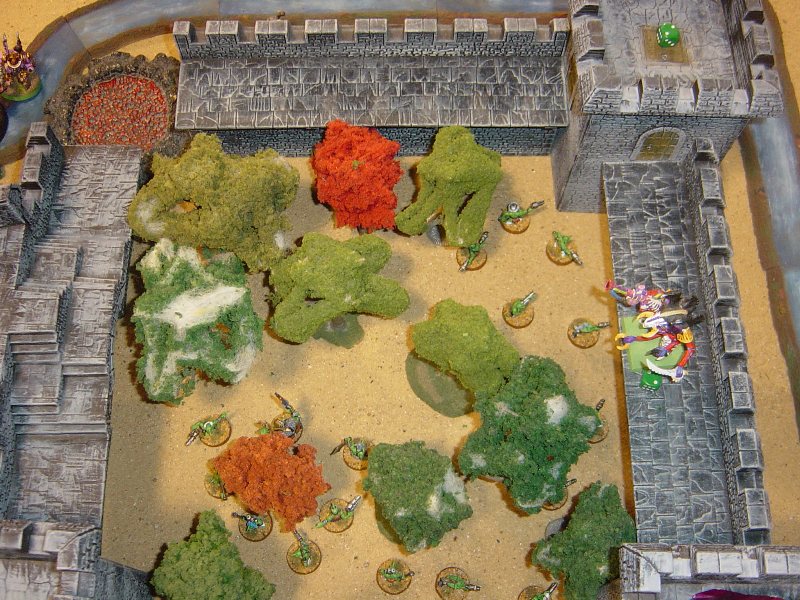
The Tyranids occupy an ancient castle filled with woods (obviously holding their eggs or something).
The KOMMANDO GROTS are dropped into the castle. We're not sure how they managed it,
The Runtherders stab at the grots to get them to do something.
The Meganobz make short work of the Carnifex (and answers that question)
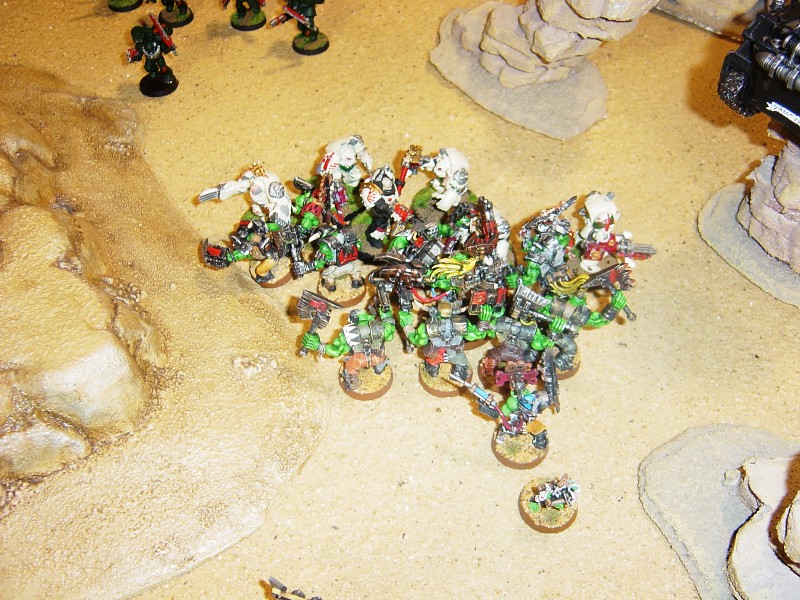
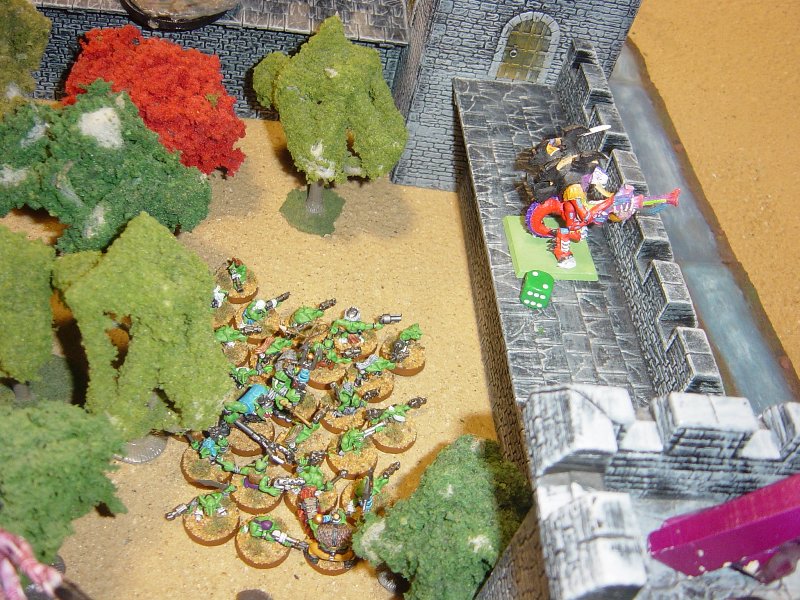
Sneaky git Slaanesh Megaboyz show up! Okay, more fun for us...
Slaanesh daemon princes work over a Hive Tyrant.
Bozo the Hive Tyrant. He must feel silly.
Okay, back to business...the boyz arrive and make short work of those Slaanesh nobz.
In the mean time, playing the "Supply Drop" strategem, the Grots end up with melta bombs
Oh my! In a series of explosions, the entire castle is
I think some bugs might be pissed.
Uh oh, here come some more Slaanesh boyz.....
And the few Gaunts who survived the collapse of their
End game, the boyz move in for the kill...
After the Oblits send the Meganobz and their trukk kareening off the table,
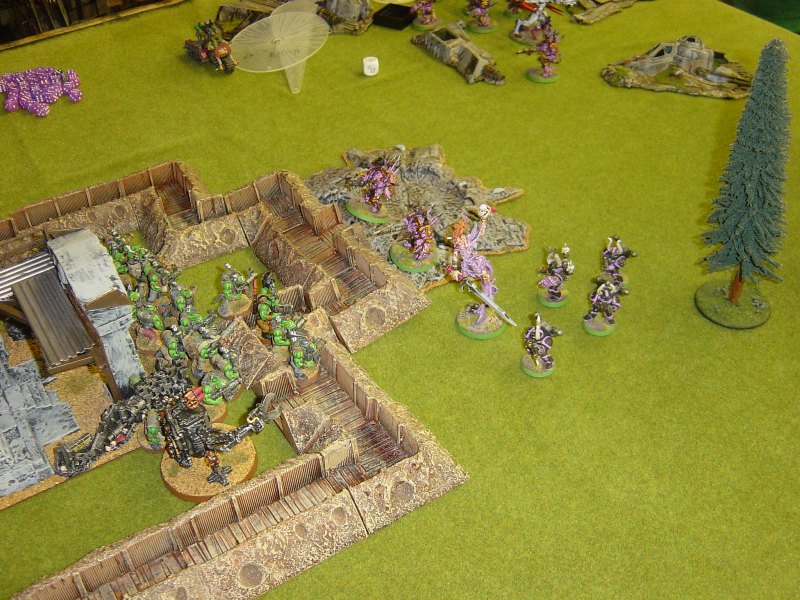
Pink Chaos Marines drop in to visit Da Boyz, who are just hanging around the
The boyz fill the trenches while Big Mek Shokka Zulu and the grots fill one bunker
Sneaky Chaos boyz drop in on one flank. They can't shoot better than a snotling.
Pink Chaos nobz tear down a bunker, but the Warboss and Nobz are waitin' and ready...
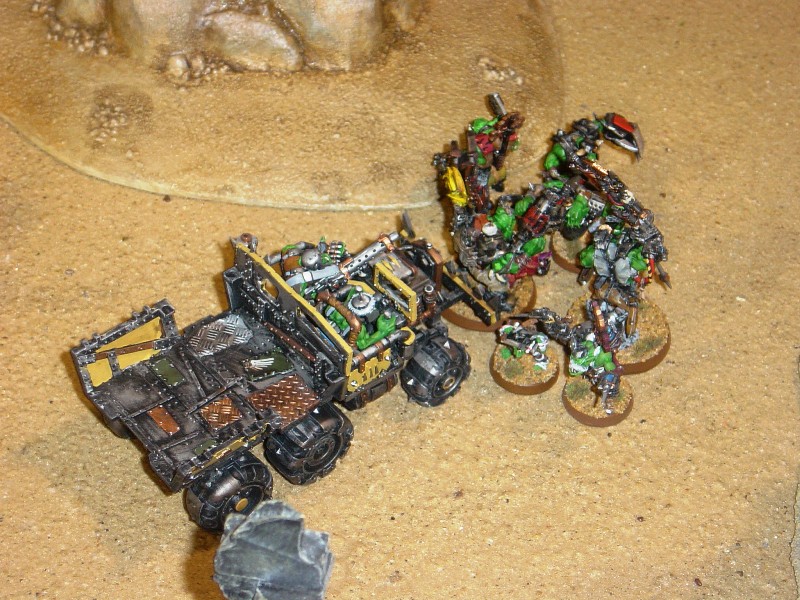
The 'Ardboyz, who were out joy-riding, hear the sounds of battle and rush back to get a piece.
The boyz pile out as more Chaos grunts show up.
Pink nobz and a deamon prince go after Shokka Zulu and the lucky grots!
Stupid git in the Deff Dred can't decide which fight he want's in on.
Shokka's bunker is destroyed and the grots killed in the explosion. Sucks for them!
More boyz pile out of the trenches.
The Ligne boyz and 'Ardboyz are destroyed, but we have more!
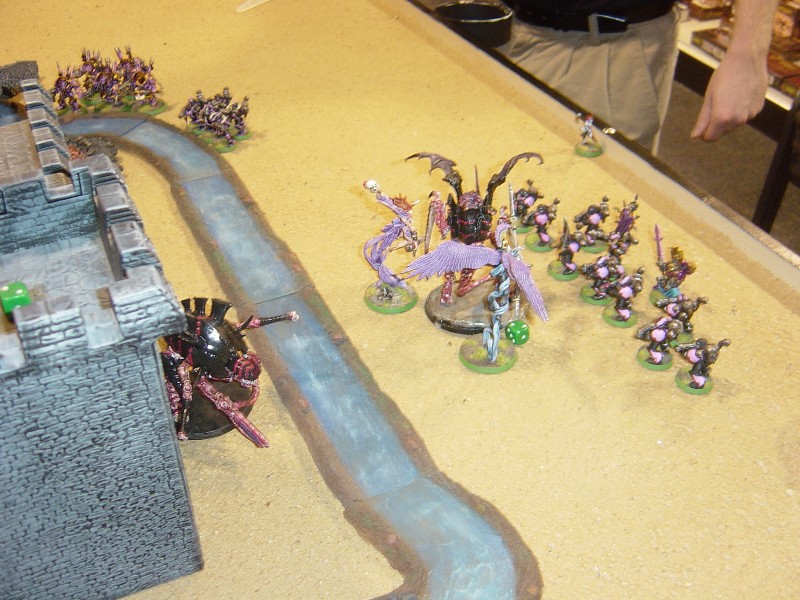
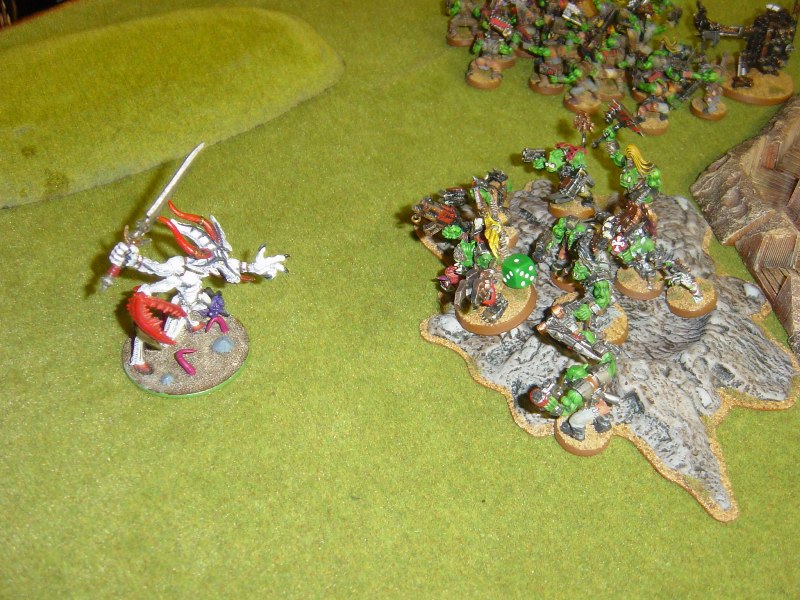
A Slaanesh greater daemon acts like a wimp, backing away from Warboss Blu'tung and taunting him to come forward.
Silly daemon! What do you think he was going to do?
Shokka's ruined bunker has been captured. But the boyz in the shrine come out to fight.
It takes a while, but the boyz get chewed up good.
The fight is down to a daemon prince, two Termis and a Chaos marine.
The 'Ardboyz trukk manages to pick up the nobz and deliver them into the Termis.
VICTORY! The boyz clean the table. It was a great fight, down to the wire.
Warboss Blu'tung brings da boyz to da fight...
..oh right, the stupid git missed the battle!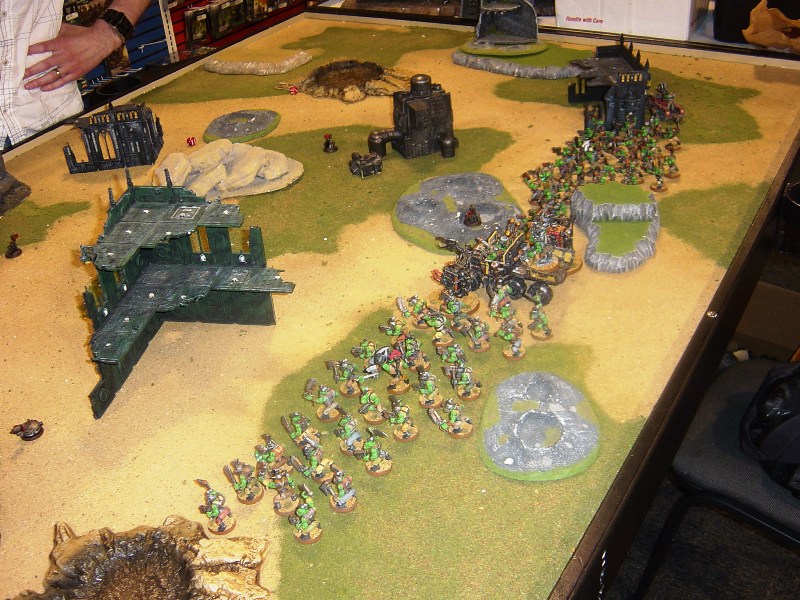
and it's time to take the fight to them.

(which is about all it's good for).

Warboss Blu'tung shows up to teach the Boyz how ta fight.
Oops, who knew the big Ummie guns could move and shoot?
Oh well, we can grow more boyz....


as the Warboss and his Nobz wait for their turn.
Warboss Blu'tung starts snippin...

The Raven Guard are thinned out a bit, but the assault marines are ready to counter attack.
Warboss Blu'tung shows up at the nearest fight.
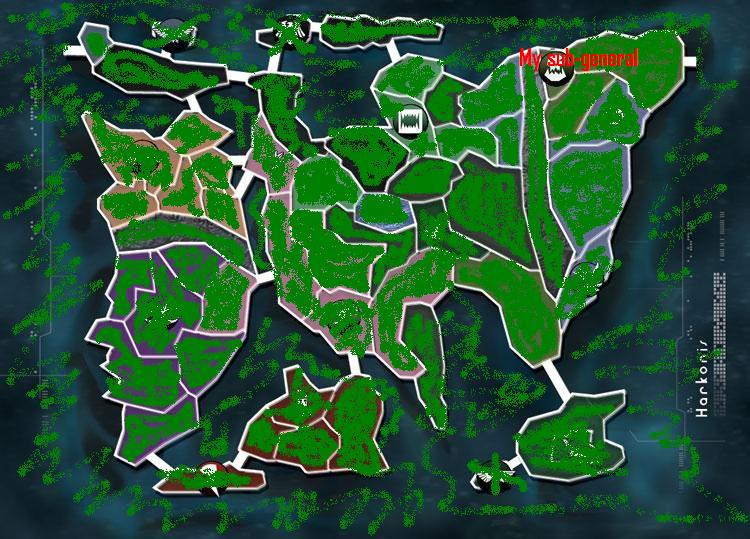
Hey, it's my Sub-General! Maybe I'll see what he's made of.
There's a joke here.....
It appears the fake green guys are attacking my sub-general, and the Raven Guard are here to help.
If you can't see them, look hard at the corner. You might have to squint.
(They have no right to be green.)
Here it is flying into the air.
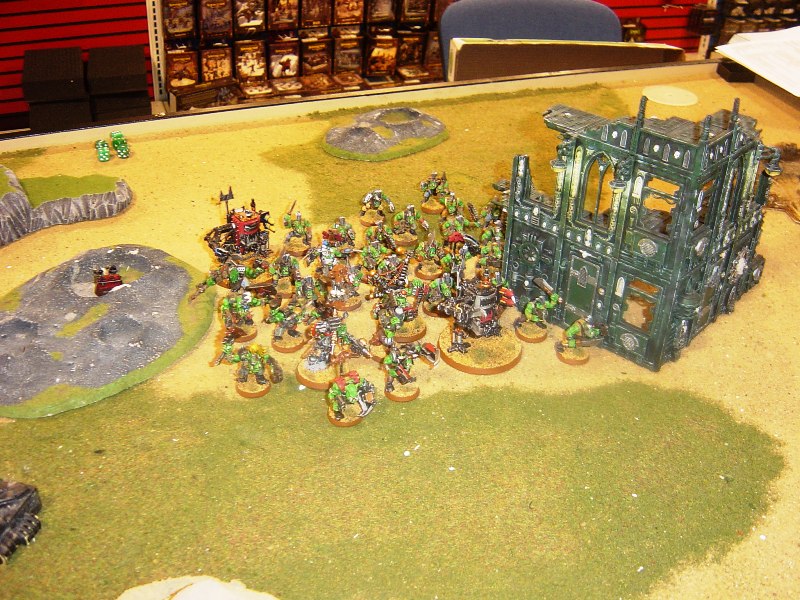
The 'Ard Boyz crack open a Rhino....

And by "WE" I mean me. Yeah, there was action going on in the defenses, but who cares?
The real fun was out here!
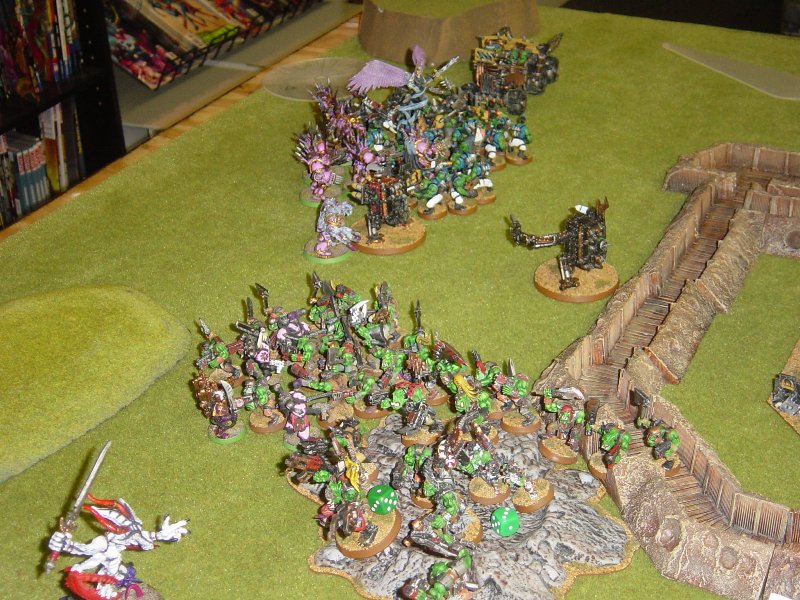
and the Tyranids seem to be overrunning everyone.
Let's take a shot at them!
Oh wait, Brian shows up with his Chaos boys...
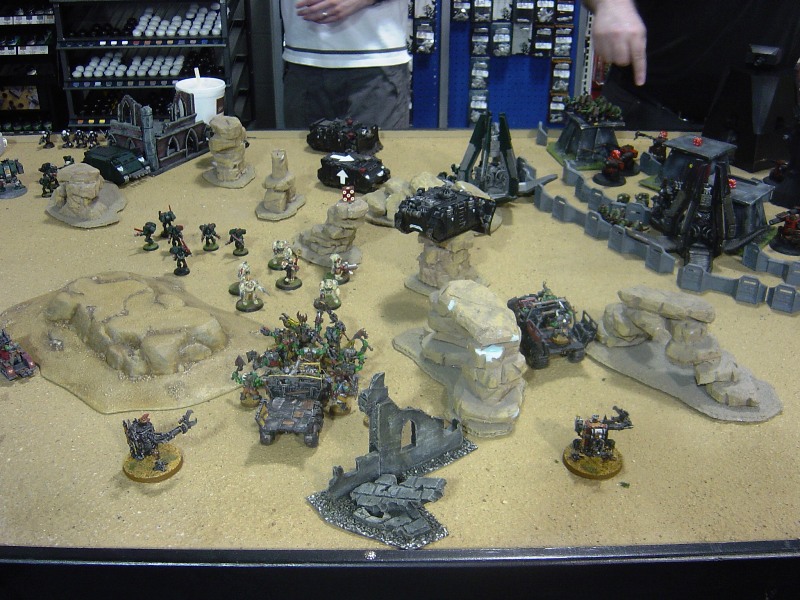
There are four bastions in the corners connected by walls.
It is surrounded by a treacherous moat!. The boyz are not concerned as our trukks
make a useful bridge...
but it's possible they were just tossed over the wall and landed in the trees.
A few of them were impaled in the attempt...who cares?
So they shoot their Grot Blastas at the Hive Tyrant, doing two wounds!
while the 'Ard boyz tear down a wall to get at what's inside.

we didn't need those Kans anyway.

PLEASE NOTICE THEY DO THE SAME NUMBER OF WOUNDS AS MY GROTS.
and begin to spread out inside the castle...
reduced to ruins by the KOMMANDO GROTS!


bunker charge the Grots - but LOSE and are wiped out!.
Unfortunately, Warboss Blu'tung is thinking like a grot today.
and the Grots shoot at the Tyrant instead of grabbing an objective,
this leaves the Tyrands with a chance to win. But the shot on the Daemon Prince
is out of range...Slaaneshi gits take my port.
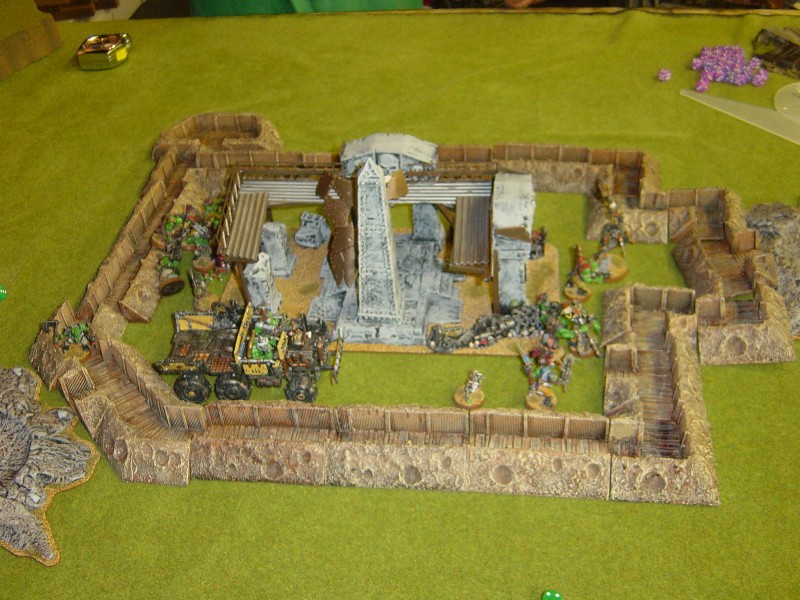
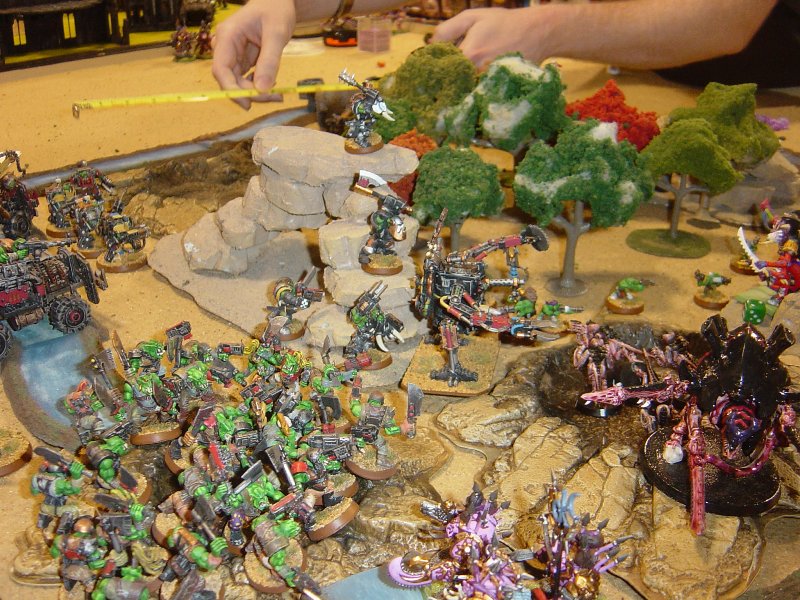
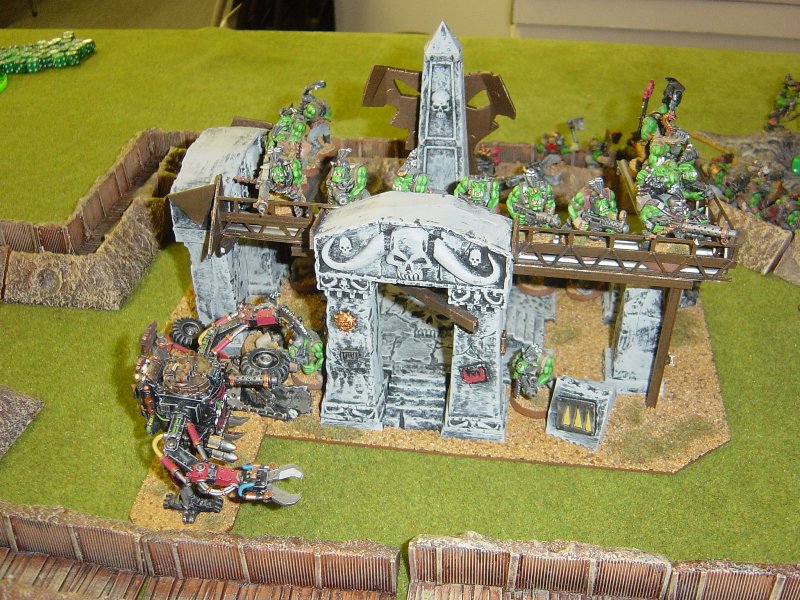
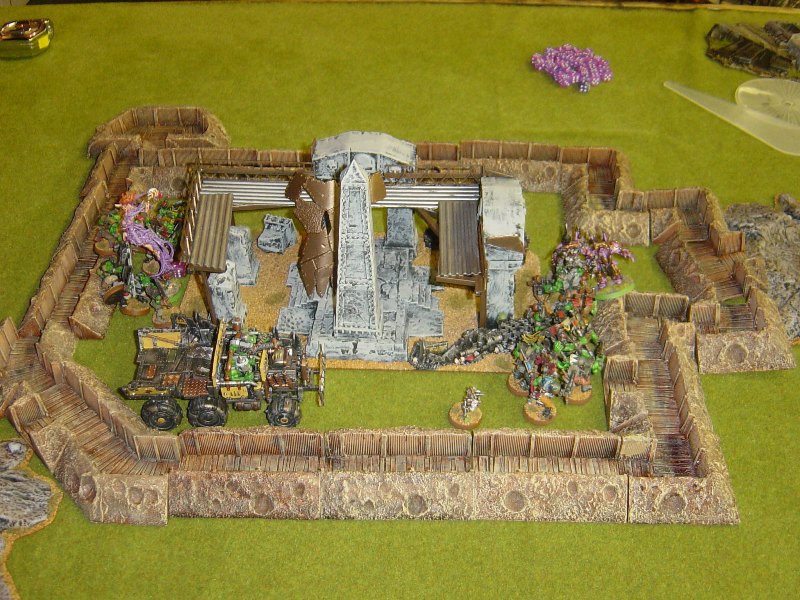
ruins of an old Chaos temple - that's been properly orkified.
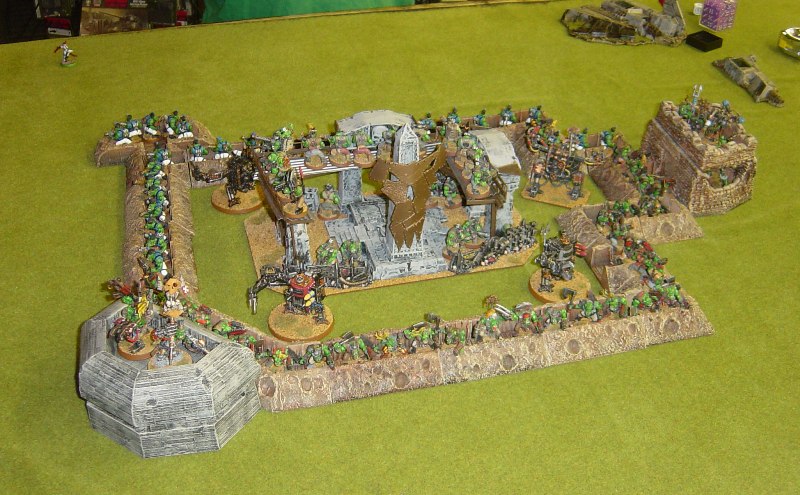
and Warboss Blu'tung and his Nobz are in the other. Kans and a dred provide backup.

The daemon prince lashes some boyz out of the trenches, but the joke's on him...
because they weren't planning on staying in there anyway!
The shoota boyz watch the fighting.
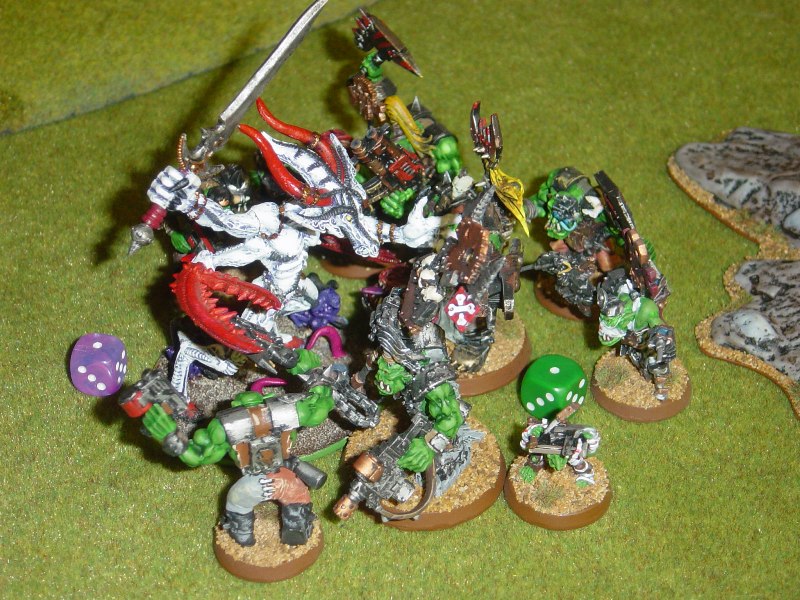
The Warboss goes down, but the Nobz take the daemon out too,
thanks to the Painboy getting in a last second stab with his 'Urty Syringe.
They have some armored help.
All of the Chaos troops on the far side of the battle are killed.
The 'Ardboyz trukk is trying to pick up the Nobz to get them to the other side,
but the daemon prince is lashing them away from it!
The WAAAGH! was saved for the right opportunity and gets the Nobz into combat.
The trukk gunner takes out the marine holding a bunker
and boyz charge into the daemon prince.
Special orky props go to the Painboy and his excellent "Feel No Pain" work and vital
wound on a daemon prince, to the Slugga boyz who shot down FOUR Terminators at once,
and to the trukk gunner for saving an objective with his wicked "Close both eyes and squeeze"
shot that killed the sole surviving Chaos marine.